Your First Glow: Pre-Sauna Setup Guide
There’s nothing quite like stepping into your Glow Sauna for the first time. The scent of warm cedar, the soft LED glow, the quiet hum of the heater coming to life.
Before you begin your first sweat session, there’s one important step: a simple preparation process to ensure your sauna performs perfectly from day one.
This quick setup allows the heater and rocks to cure properly, eliminates any factory residue, and ensures you experience clean, pure heat from your very first session.
Let’s walk through it.
🪨 Step 1: Wash the Sauna Rocks (Yes, Twice)
Your sauna rocks are natural stones, typically olivine diabase, quarried and cut specifically for high-heat environments.
During the mining and packaging process, fine dust can accumulate on the stones. To ensure clean steam:
- Rinse the rocks thoroughly.
- Wash them twice to remove any natural dust or loose particles.
- Allow them to fully dry before installation.
- Clean rocks = cleaner löyly (steam).

⚡ Step 2: Burn Off the Protective Coating
Your heater arrives with a light, factory-applied anti-rust coating on the heating elements. This protects it during shipping and storage.
Before placing the rocks inside:
- Turn the heater on without the rocks installed.
- Let it run for 10–20 minutes.
- You may notice a slight smell — this is completely normal.
This process safely burns off the protective coating and prepares the elements for regular use.
❄️ Step 3: Let Everything Cool Completely
After the burn-off:
- Switch the heater off.
- Allow the heating elements to cool fully.
- Ensure both the heater and the rocks are completely dry before proceeding.
- Patience here ensures longevity and performance.
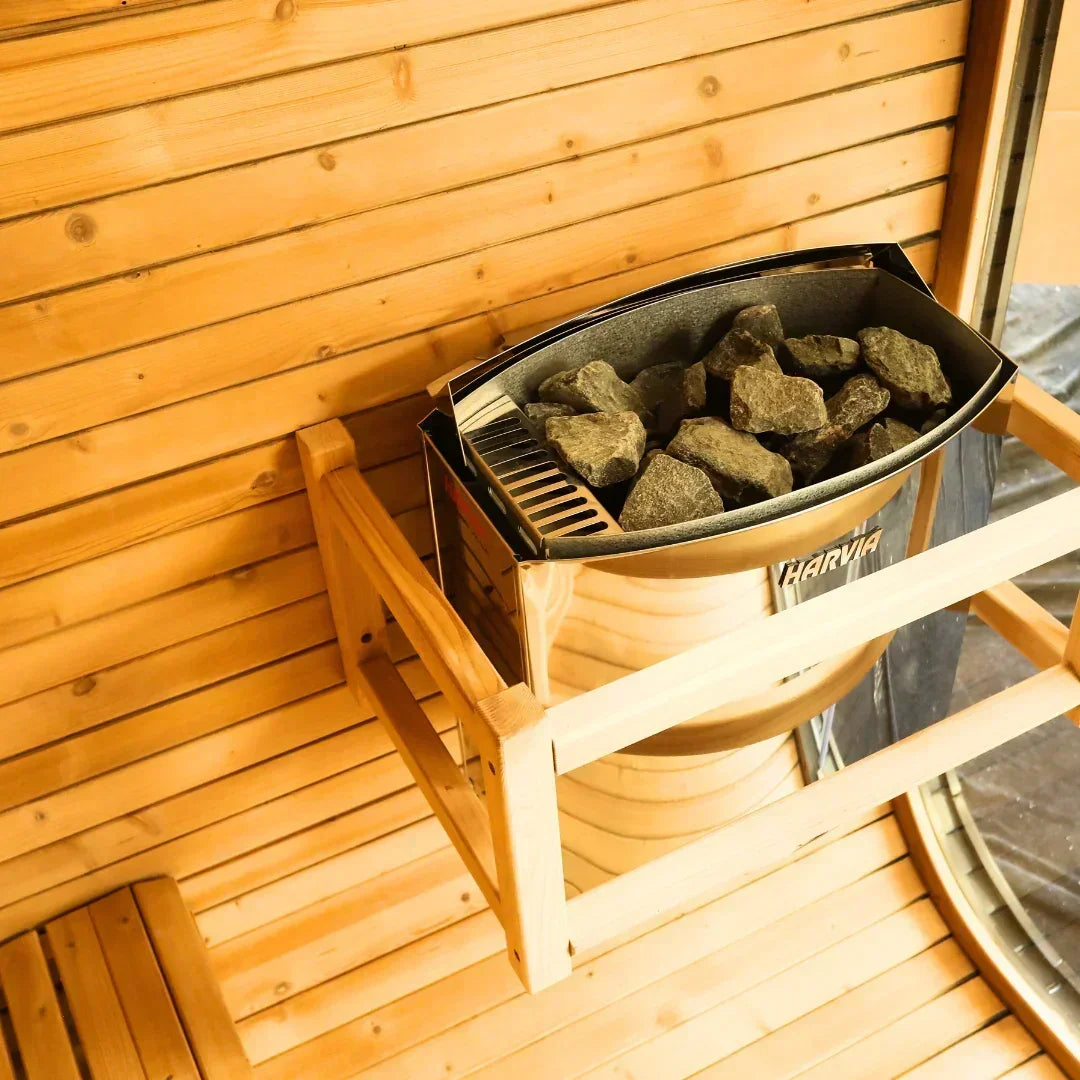
🧱 Step 4: Stack the Rocks Properly
When placing the rocks into the heater:
- Stack them loosely.
- Do not tightly pack or wedge them in.
- Leave space between stones to allow airflow around the heating elements.
Proper airflow is critical for:
- Even heat distribution
- Efficient performance
- Long heater lifespan
Think: structured but breathable.
🌬️ Step 5: Complete the Initial Cure
Now it’s time for the final step.
- Turn the sauna on with the rocks in place.
- Run it for 2–3 hours.
- Leave the door open or ensure good ventilation.
This completes the curing process and removes any remaining residue from manufacturing.
Once this is done…
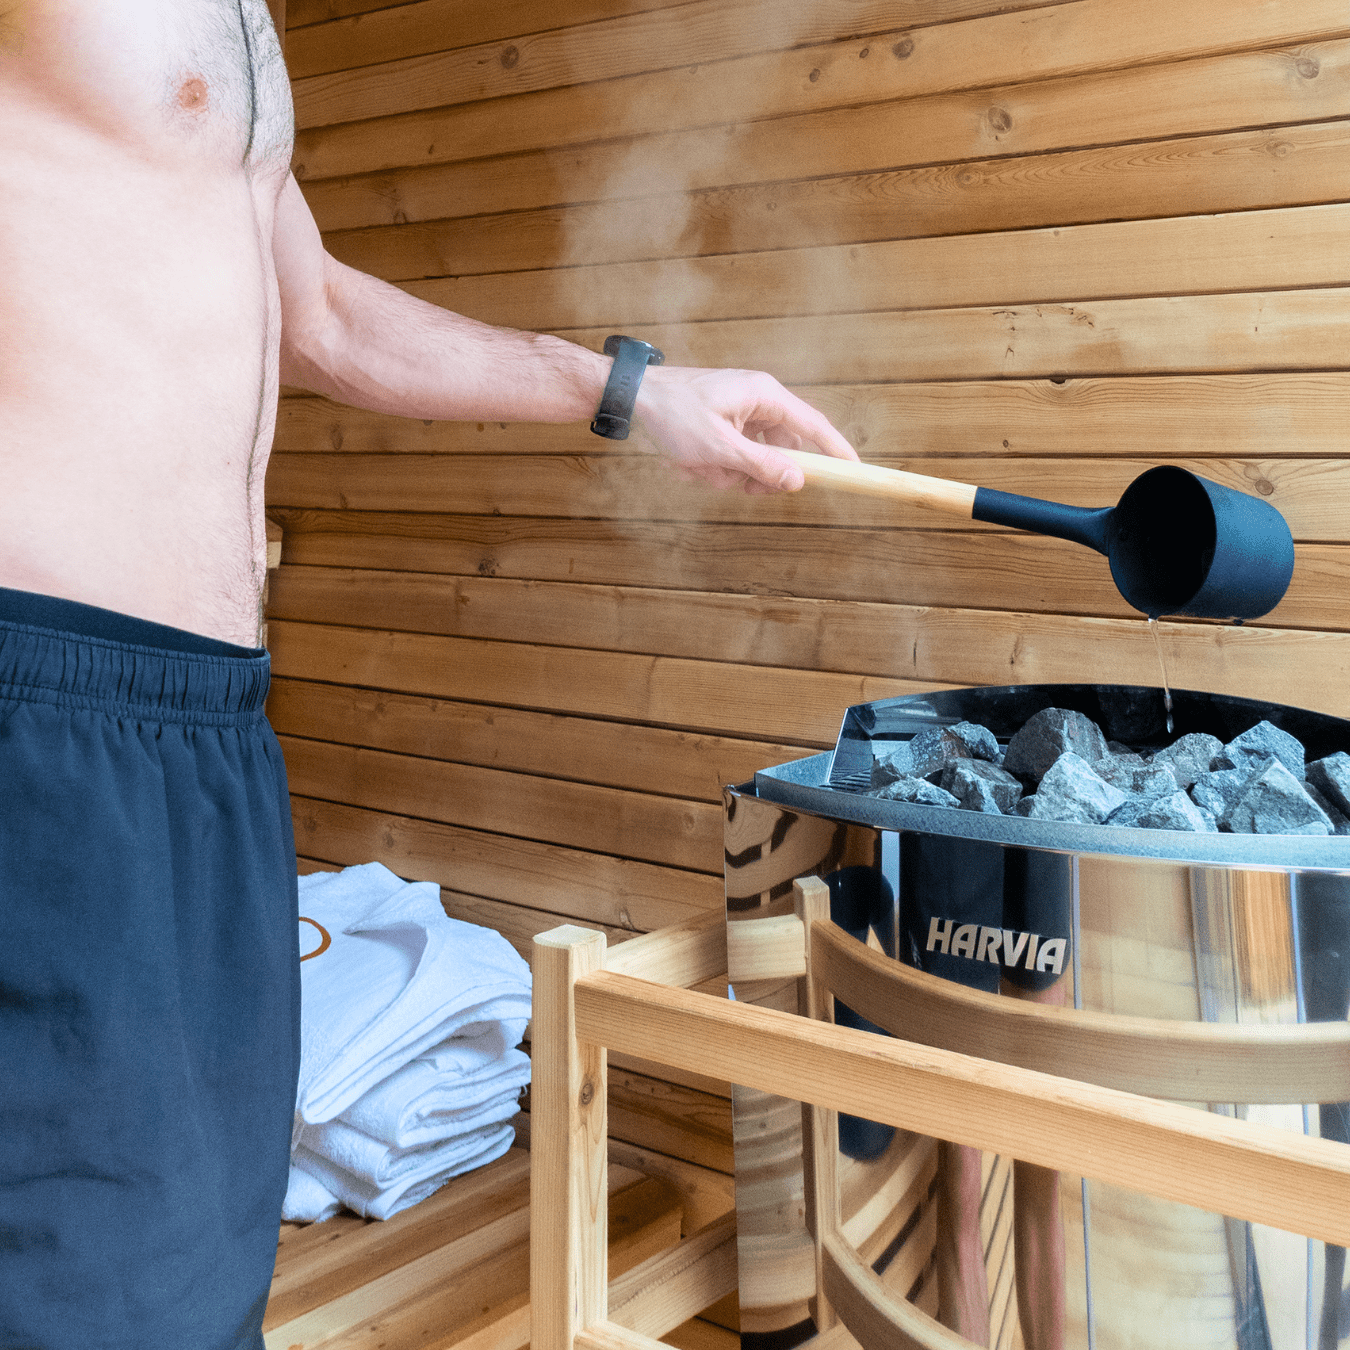
✨ You’re Ready to Glow
Your sauna is now fully prepared and ready for regular use.
From here on:
- Heat up.
- Pour water over the rocks.
- Slow your breath.
- Let the world quiet down.
Welcome to the Glow ritual.
Enjoy the heat.